The Best Looms For Rug Weaving
This post is the second in my series about Looms For Rug Weaving! In my previous post, I talked about the qualities you’re looking for in a good rug loom. You can read that one here.
In today’s post, I’m going to walk you through the different types of looms available and the pros and cons of each when it comes to rug weaving.
The looms you can use to weave a rug range from the most basic DIY prototypes all the way up to complex machines. This post is by no means an exhaustive list, but I hope it can be a useful starting point when you’re deciding what loom will work best for you.
The Frame Loom
Pros: Easy to DIY and make to any size.
Cons: Physically demanding, can be slow.
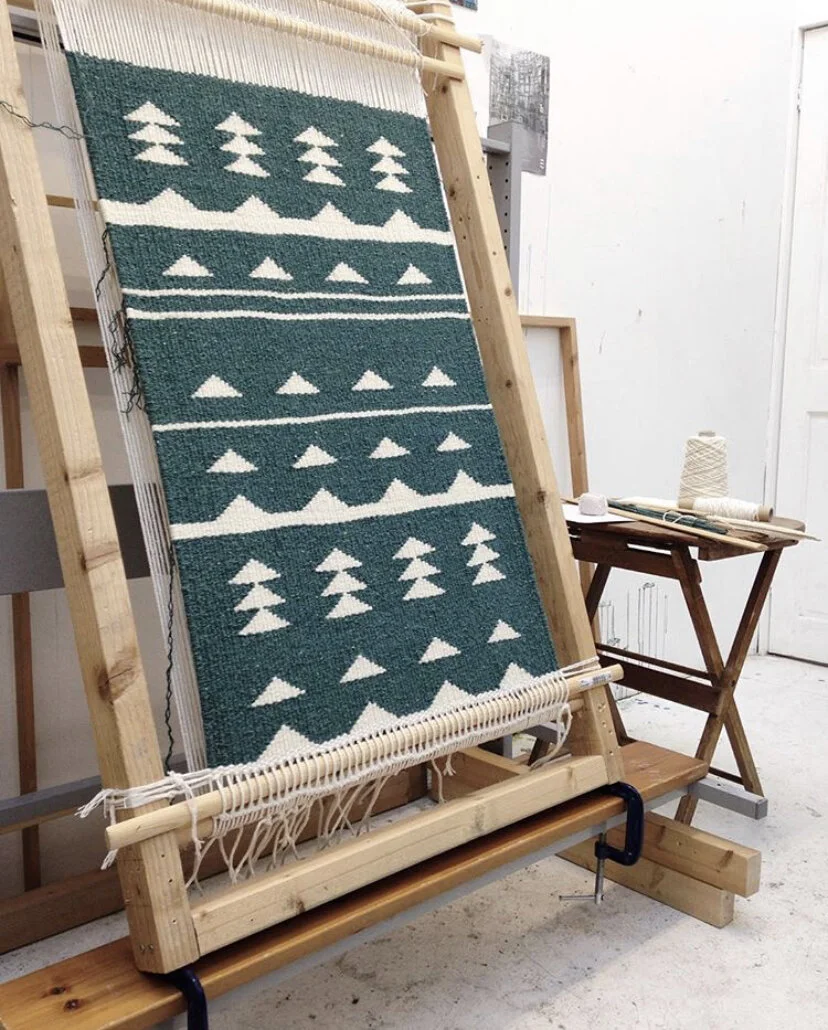
First up, the simple frame loom! You absolutely can weave a rug on a frame you build at home. That’s how I started out myself.
The pros to this approach is that they are simple, easy to make and you can build them to any size you want
The cons is that they can be more physically demanding to work on. I find when working on a large frame loom that I’m standing in one position for a long time and it’s hard on my back!
Plus working on a frame loom can be slower, especially if you’re threading your weft through by hand. However, you can always add shed sticks & heddle rods to speed the process up.
Verdict: A great starter loom.
The Notched Frame Loom
Pros: Super easy to warp
Cons: Potential tension issues, less flexibility.
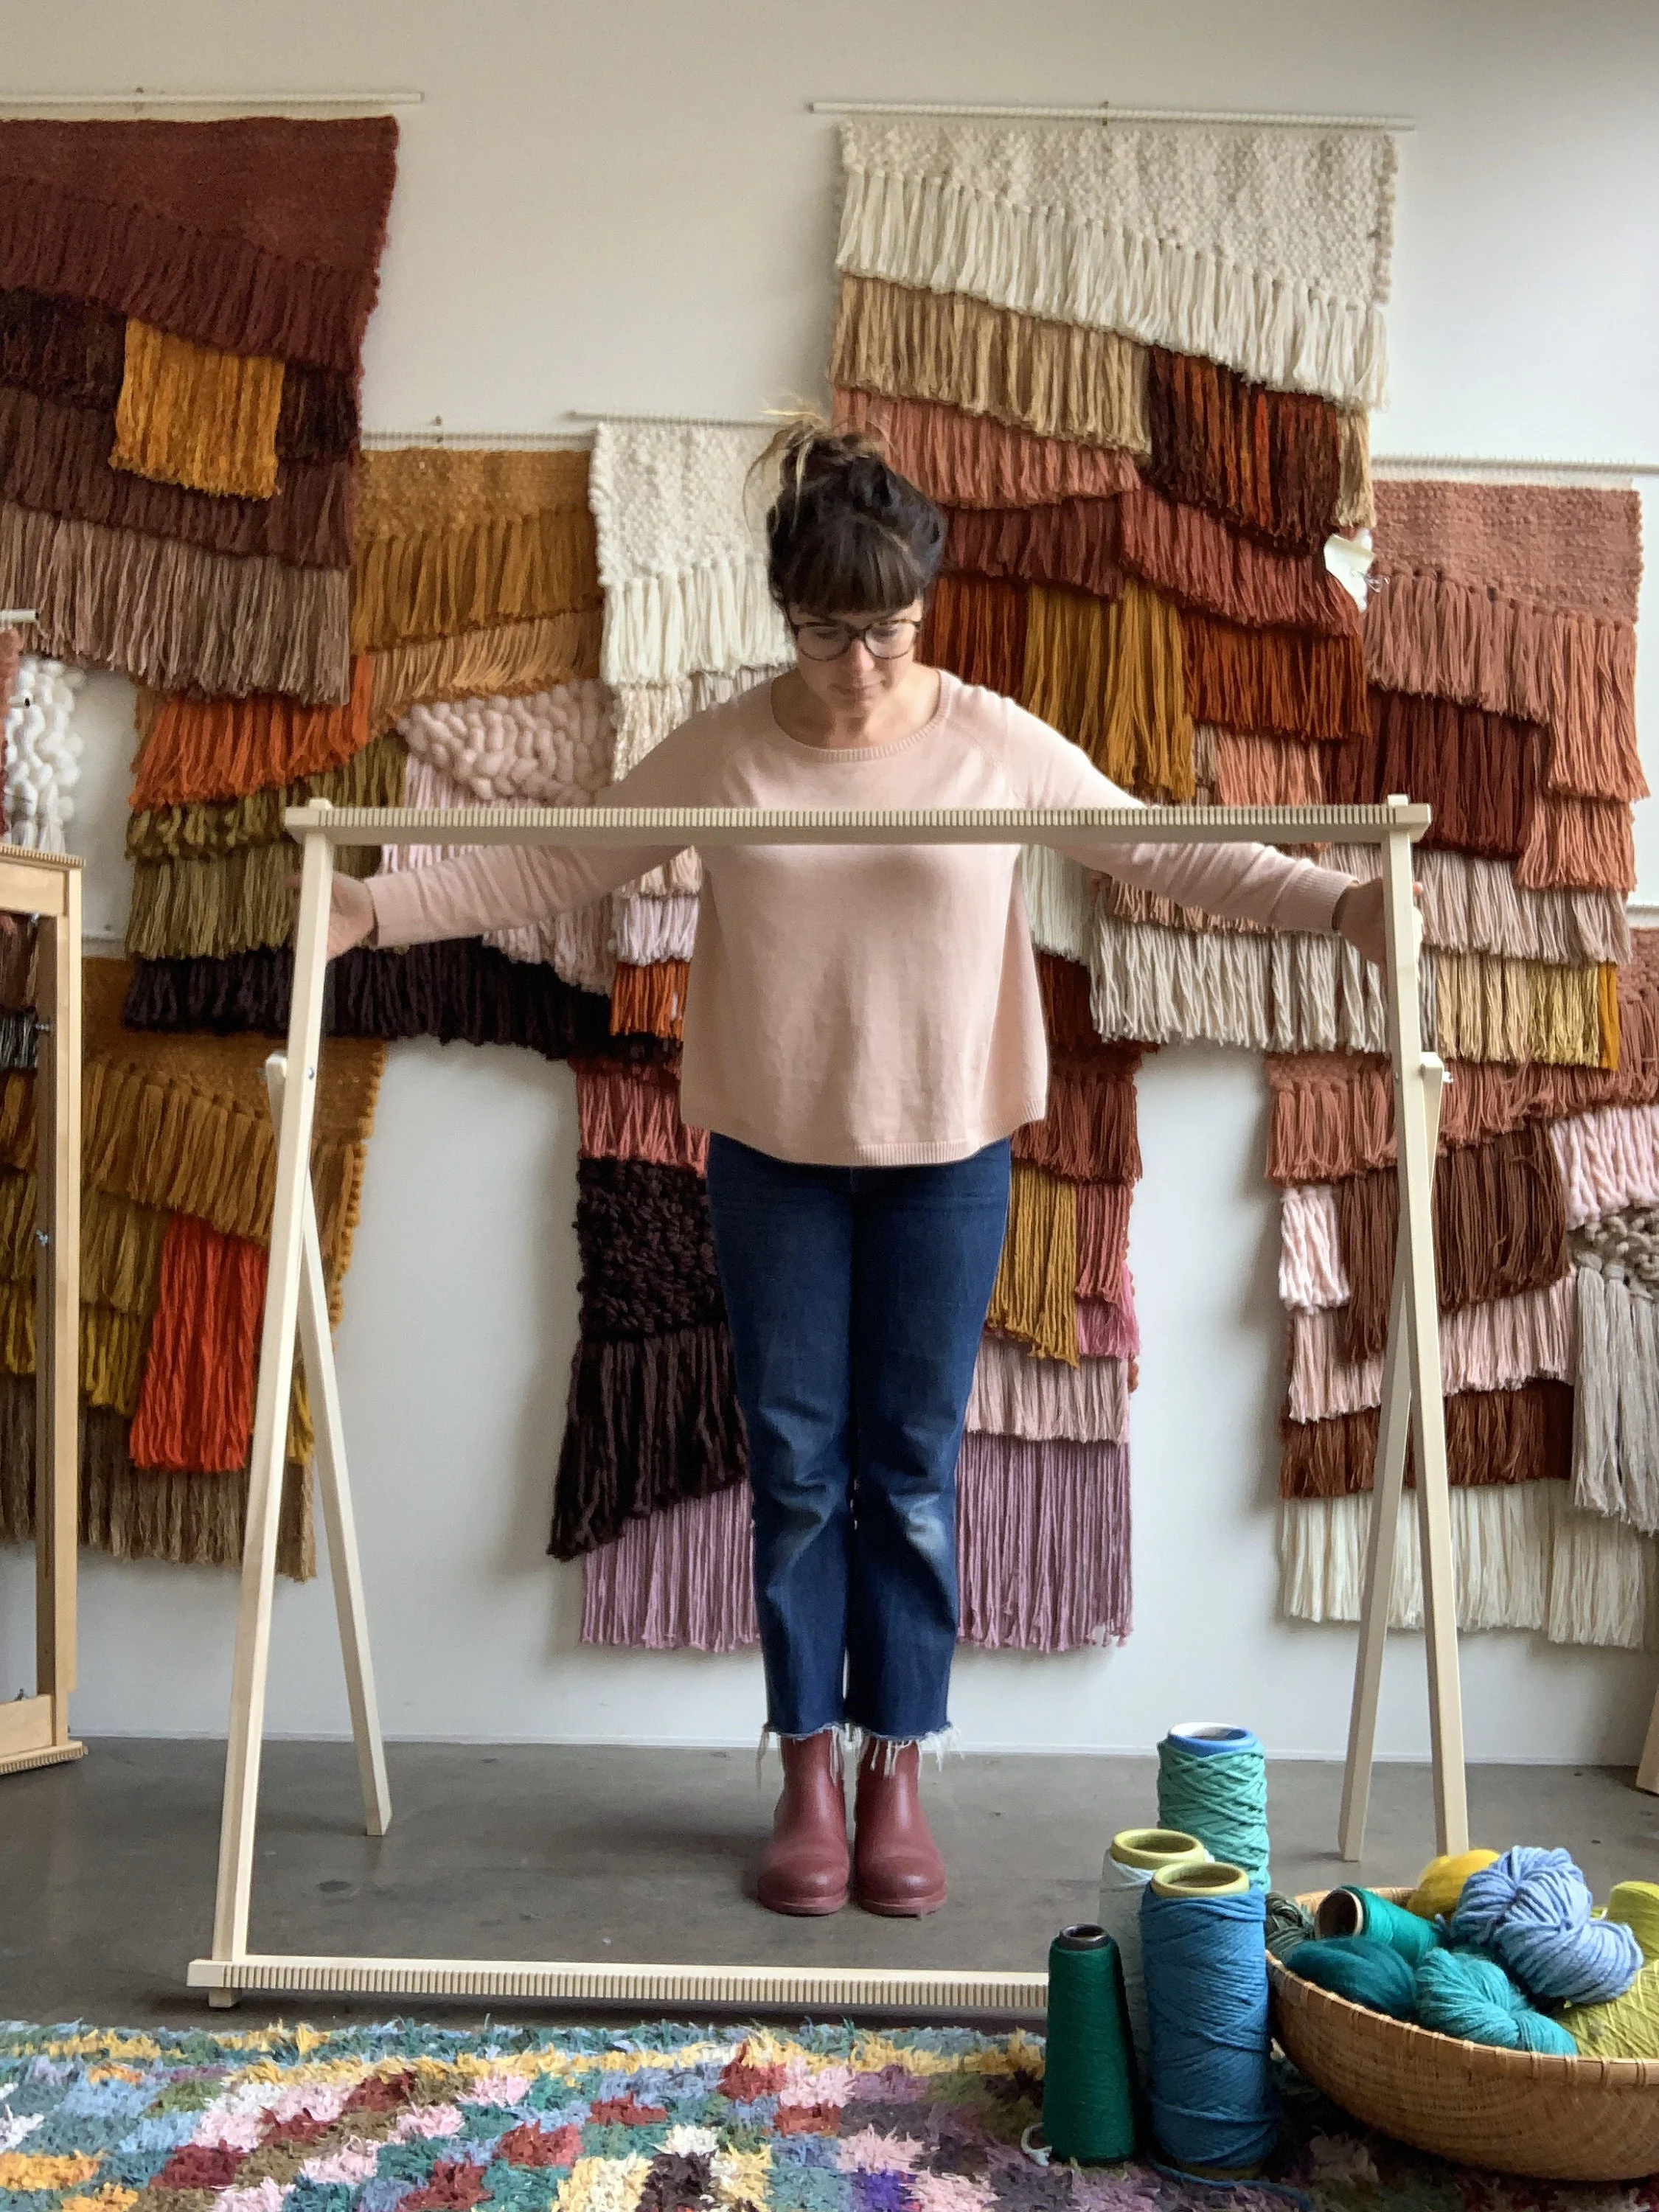
The large notched frame loom is another option if you don’t want to build a frame yourself. They are super easy to set up and get started with. And if you get a wide one, you can weave several rugs side by side!
The only thing I would say about notched looms is that I find it quite difficult to get the tension as tight as I’d like (but that could just be me!)
You are also limited in terms of warp thickness and how close you can space the warp itself.
Verdict: A great starter loom.
The Balfour & Co Rug Loom
Pros: Simple to set up, shed stick and heddle rod.
Cons: Limited size.
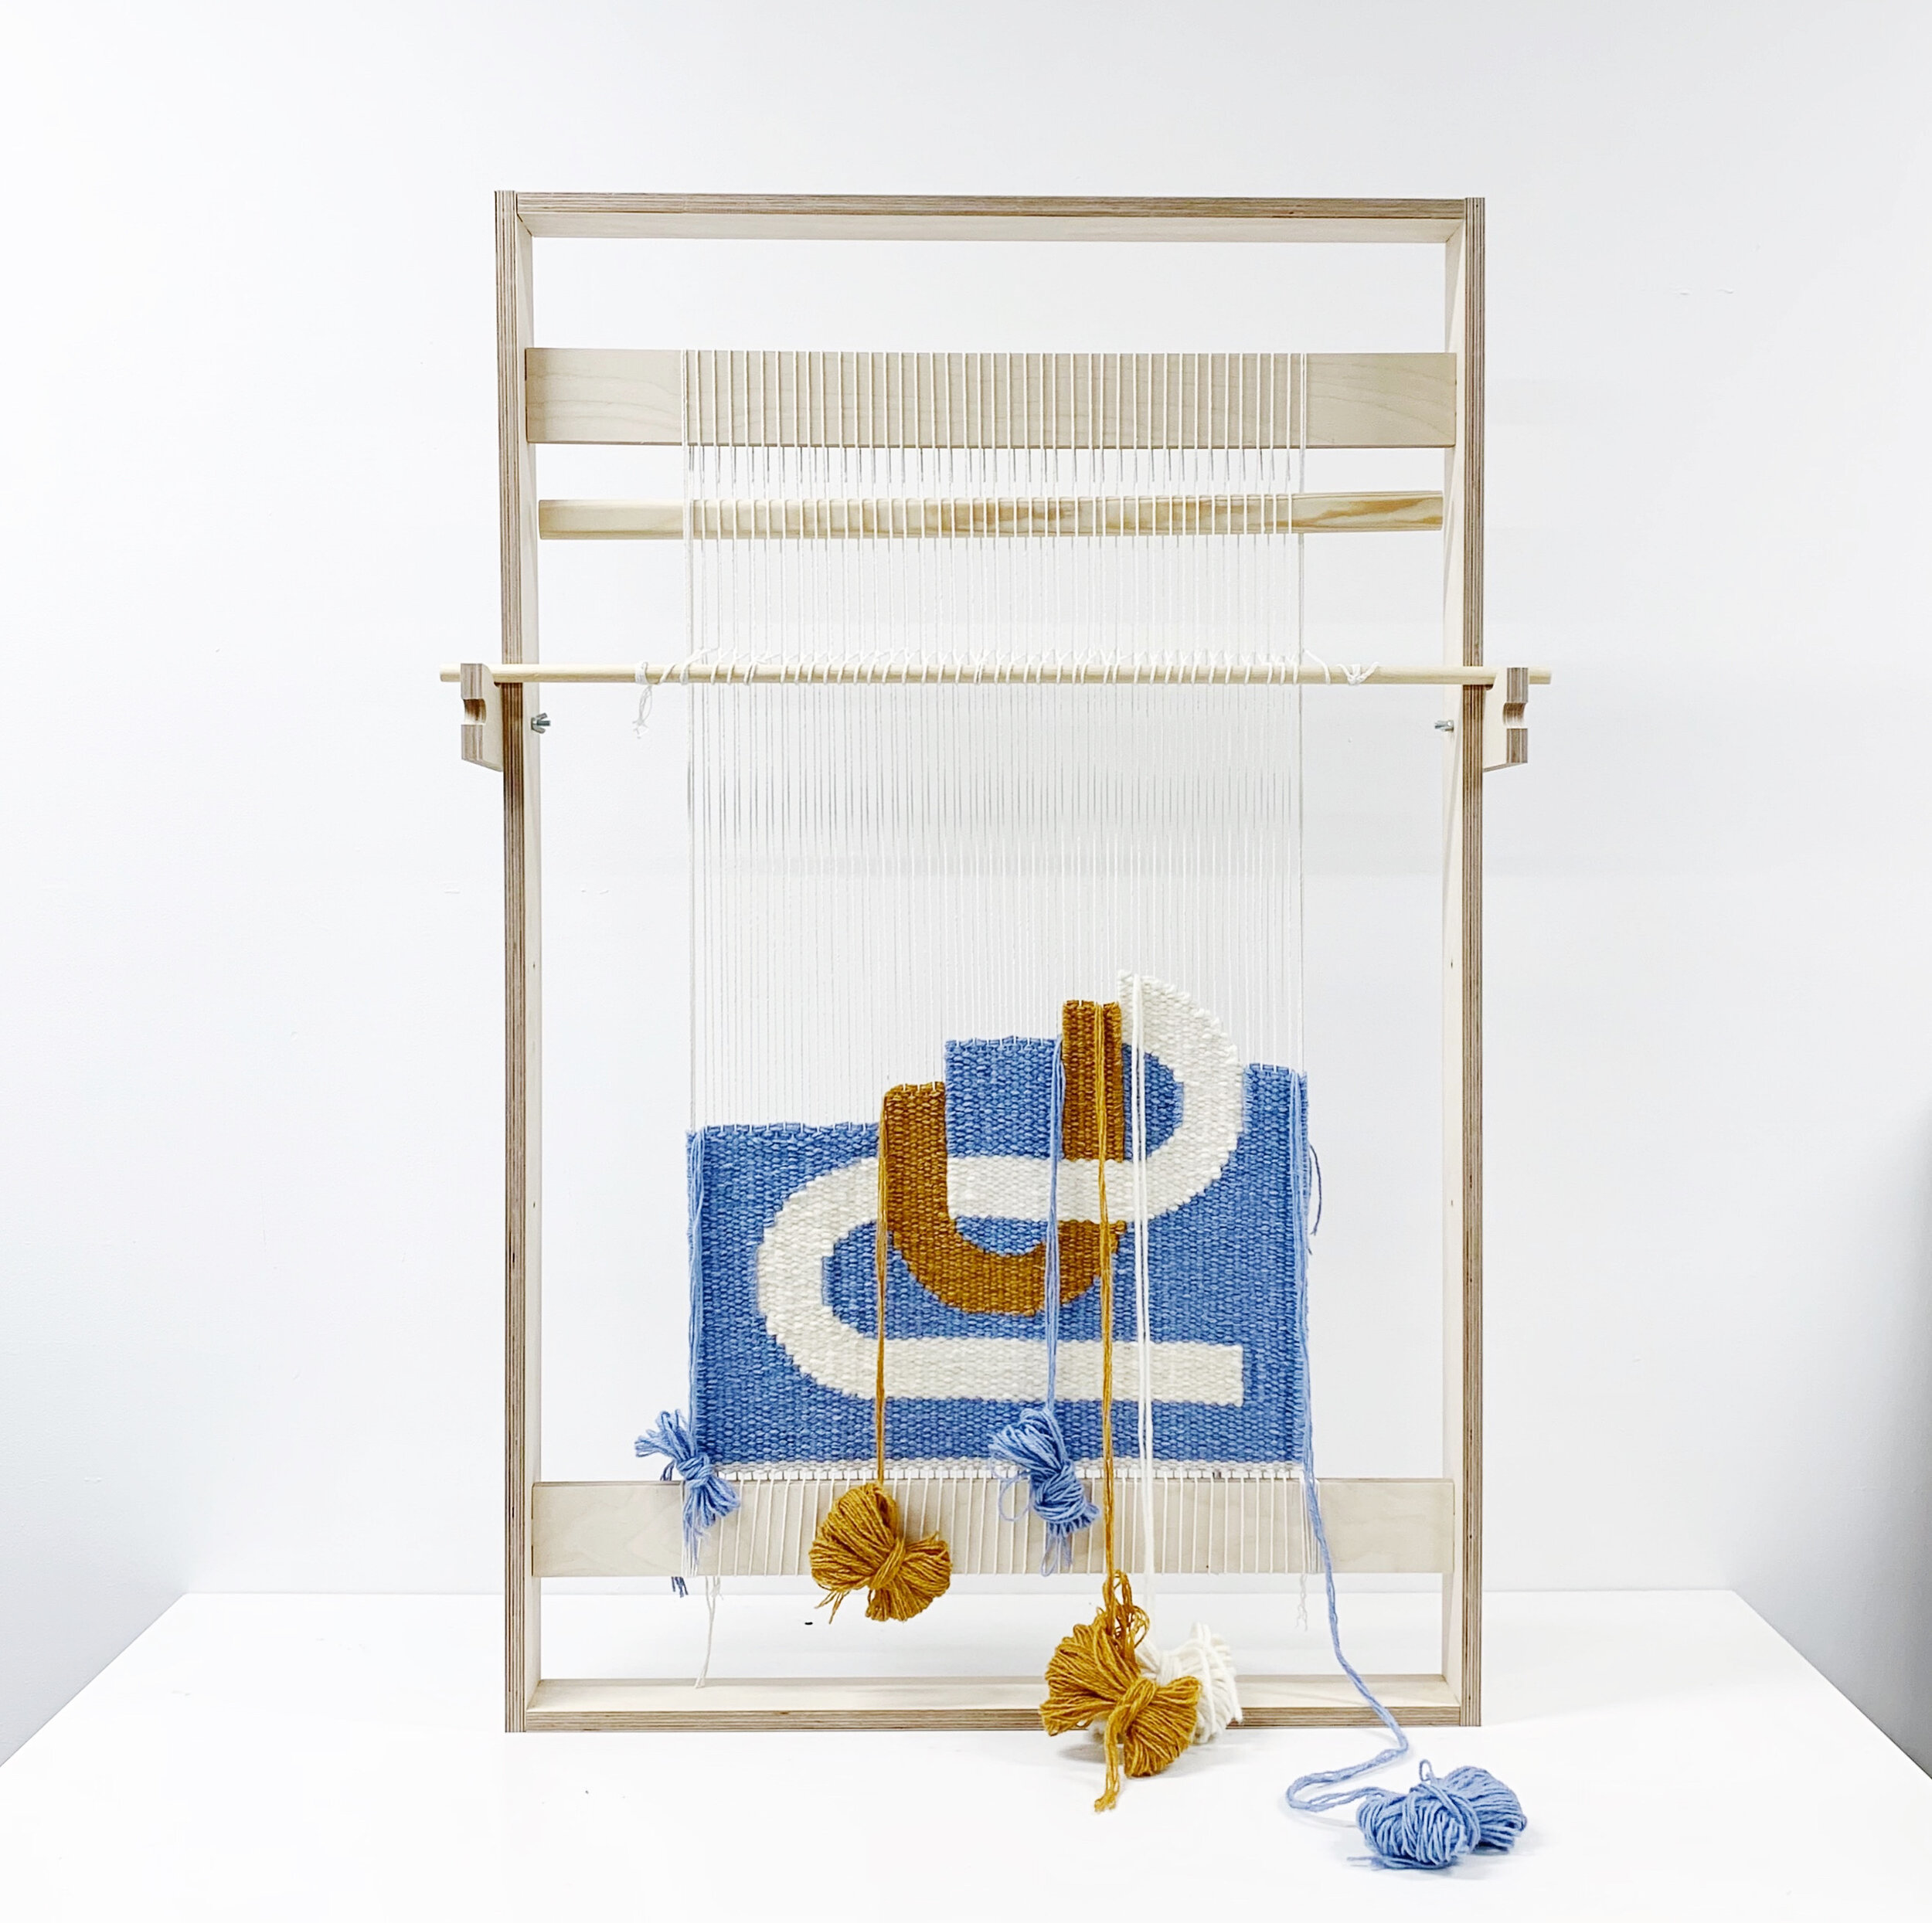
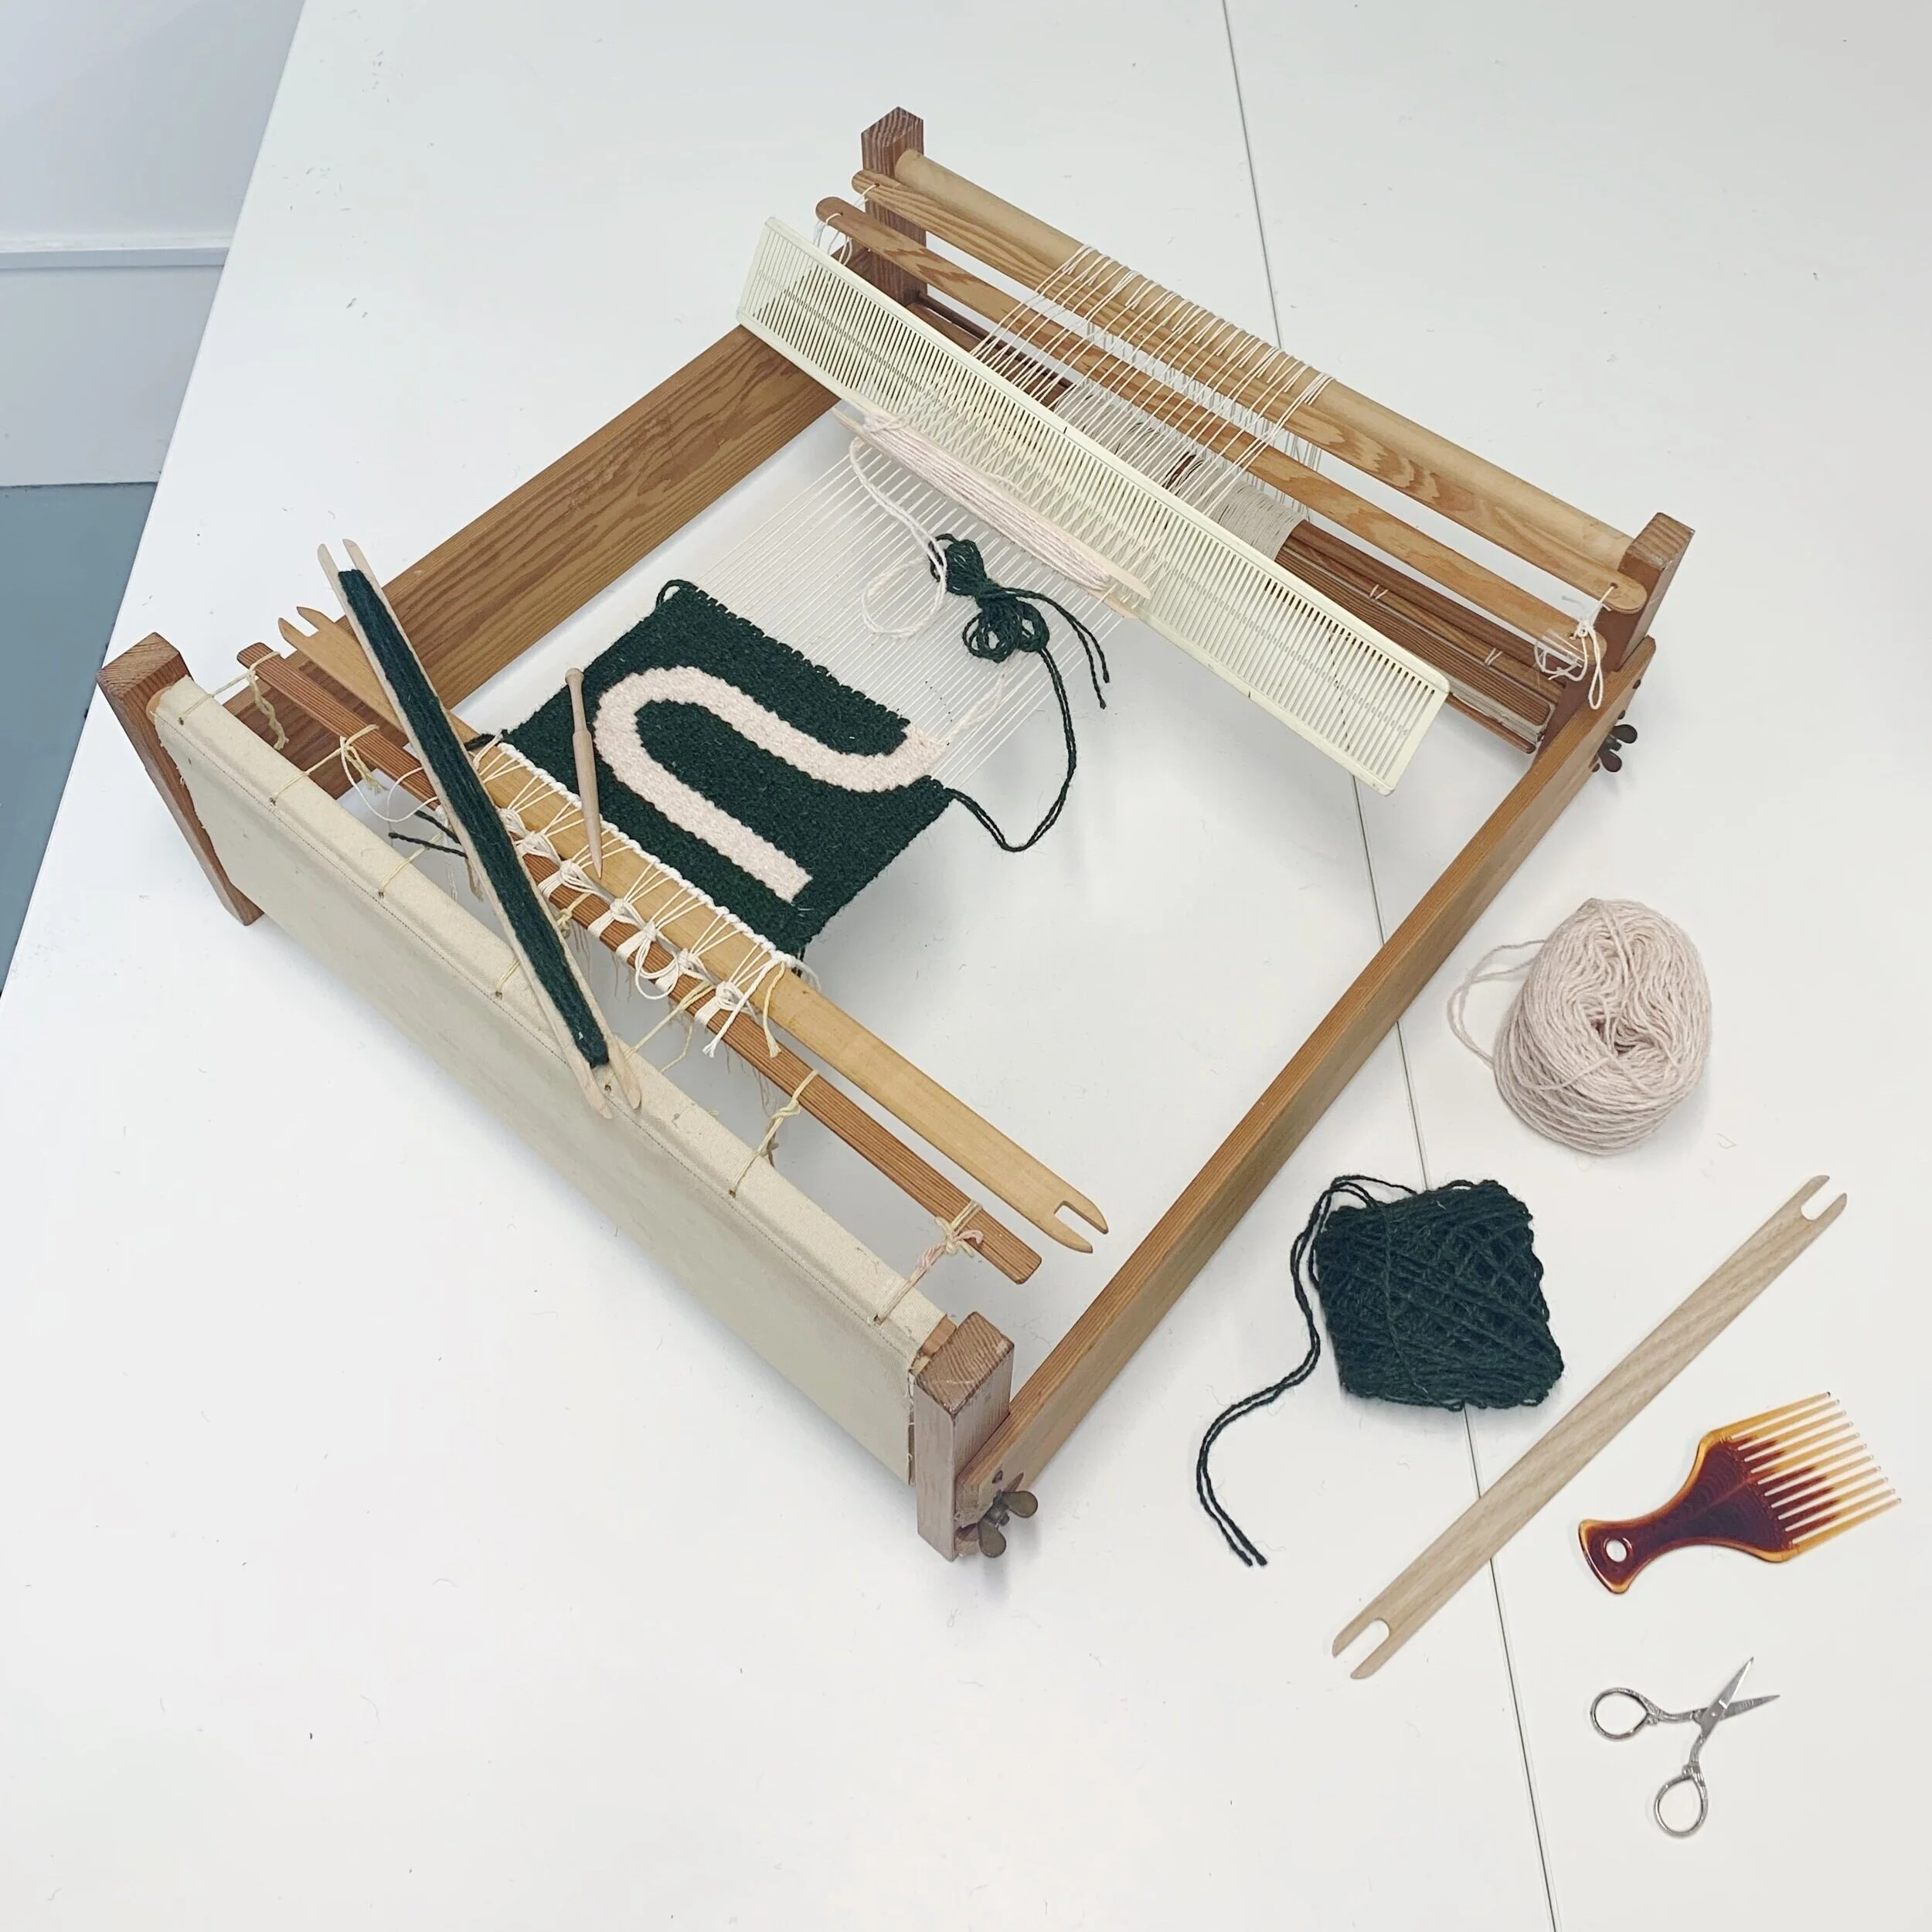
Of course, I’d be remiss in this post if I didn’t mention my own rug loom! I designed this loom especially for beginners, and for use in my own weaving workshops and online course.
It's very simple to set up, and it comes with a heddle rod and shed stick. These separate the warp, making it easier to pass the weft across the loom and speeding up the weaving process.
However this loom is limited in terms of the size of the rug you can weave, although it is possible to warp it in a continuous loop and weave a rug that is twice as long! This continuous loop can also be moved around the loom, allowing greater adjustability so it’s less physically demanding to weave on.
Finally, this is the loom I use to demonstrate my techniques on throughout my Rug Weaving On An Upright Loom online course! These techniques will translate onto almost any loom, but I do recommend this loom for the course, especially if you’re a beginner weaver.
Verdict: A great starter loom, ideal for the online course.
The Adjustable Frame Loom
Pros: Tension control, leashes
Cons: Longer set-up time, limited size
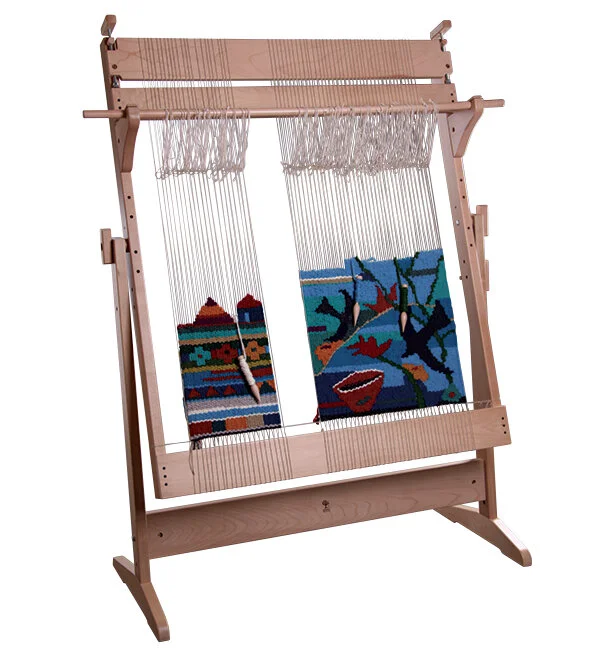
There are several adjustable frame looms on the market, like the Mirrix collection and Ashford Tapestry Loom. These looms have adjustable top beams so you can increase or decrease the tension in the warp.
Being able to increase or decrease tension is super useful especially when you’re weaving a rug. If you’ve read my previous post, you’ll know that for rug weaving you need a good tight warp!
These types of looms also come with leashes to separate the warp and speed up the weaving process.
The downside here is that these looms can take a while to set up and may be a little challenging for beginners. You are also limited in terms of the size of what you can weave- although you can warp these looms in a continuous loop to create a longer rug.
Verdict: Great for intermediate weavers.
The Rigid Heddle Loom
Pros: Great for weaving cloth or tapestry- but not rugs
Cons: Tension issues, limited flexibility for warp, not sturdy enough.
Rigid heddle looms are very popular these days. They allow you to weave a longer length of fabric than a frame loom, and the heddle separates the warp to make it easier to pass the weft through and beat it down.
These looms are primarily designed to weave cloth, although some textile artists like Hannah Waldron use them to weave tapestry too. They are brilliant starter looms, but I don’t recommend them for rug weaving.
Firstly, these looms are designed for fine, close-spaced warps, so most of the heddles that are sold with them do not fit the heavier warp used for rugs.
Secondly, the cogs on most rigid heddles are not strong enough to maintain the tension needed for rug weaving, and the looms themselves are not sturdy enough to withstand the pressure of a heavy rug warp.
If you want to weave rugs on a horizontal warp, I recommend looking at table or floor looms.
Verdict: Best to avoid if you want to weave rugs.
The Table Loom
Pros: Longer length, faster to weave on
Cons: Limited Size
If you don’t want to stretch for a floor loom just yet but want to experiment with shafts and beams, table looms are a great starting point.
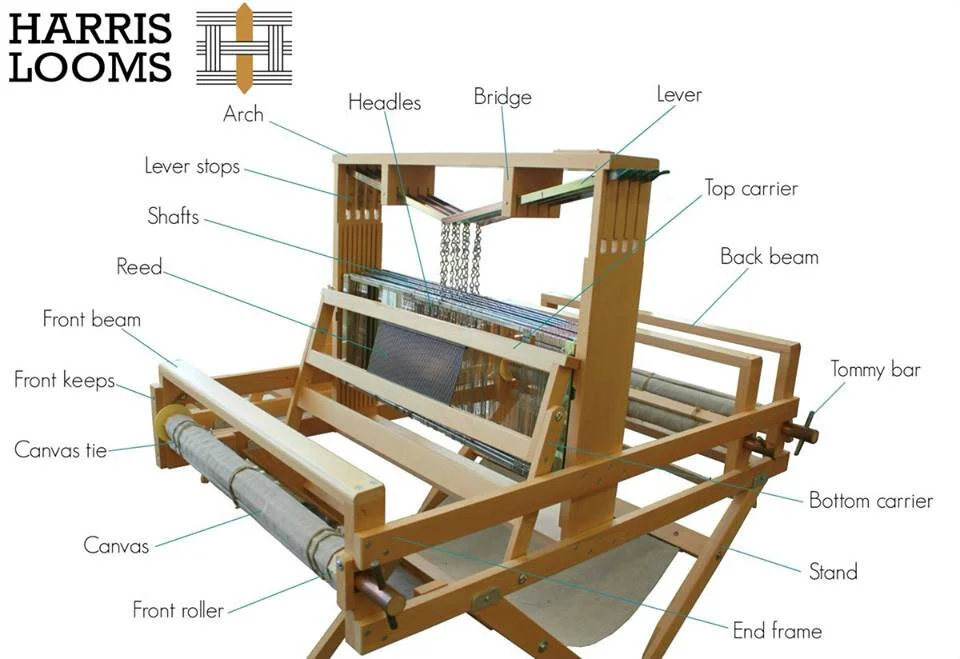
Looms like the Harris Table Loom are relatively simple to set up for the first time but allow you to weave a longer rug overall. The shafts can be raised and lowered to lift the warp and this speeds up the weaving process considerably.
The key thing to look for in a table loom is the size and strength of the metal cogs which hold the warp and cloth beams in place. You want them to be sturdy & solid, strong enough to withstand the tension needed to weave a rug.
The one downside to these table looms is that you are limited in terms of how wide your rug can be- and how long it can be too. The warp and cloth beams are not large enough to fit a long length of woven rug. So for larger scale projects, you are better off looking at a floor loom.
Verdict: A good starting point for more advanced rug weaving.
The Floor Loom
Pros: Larger size, faster weave time.
Cons: Longer set up time, complexity, takes up space.
If you want to weave rugs on a larger scale and on a faster timeline, I recommend trying a floor loom. There’s a huge array of these looms available from brands like LeClerc, Harrisville, Glimakra, and Toika to name a few, and they come in many different sizes.
You can get smaller floor looms which fold up, but I would avoid a fully foldable loom, as there’s always a danger that it will collapse under pressure. But you can use a floor loom with a foldable back beam. I have a second-hand Fanny II from LeClerc and have woven many rugs on it.
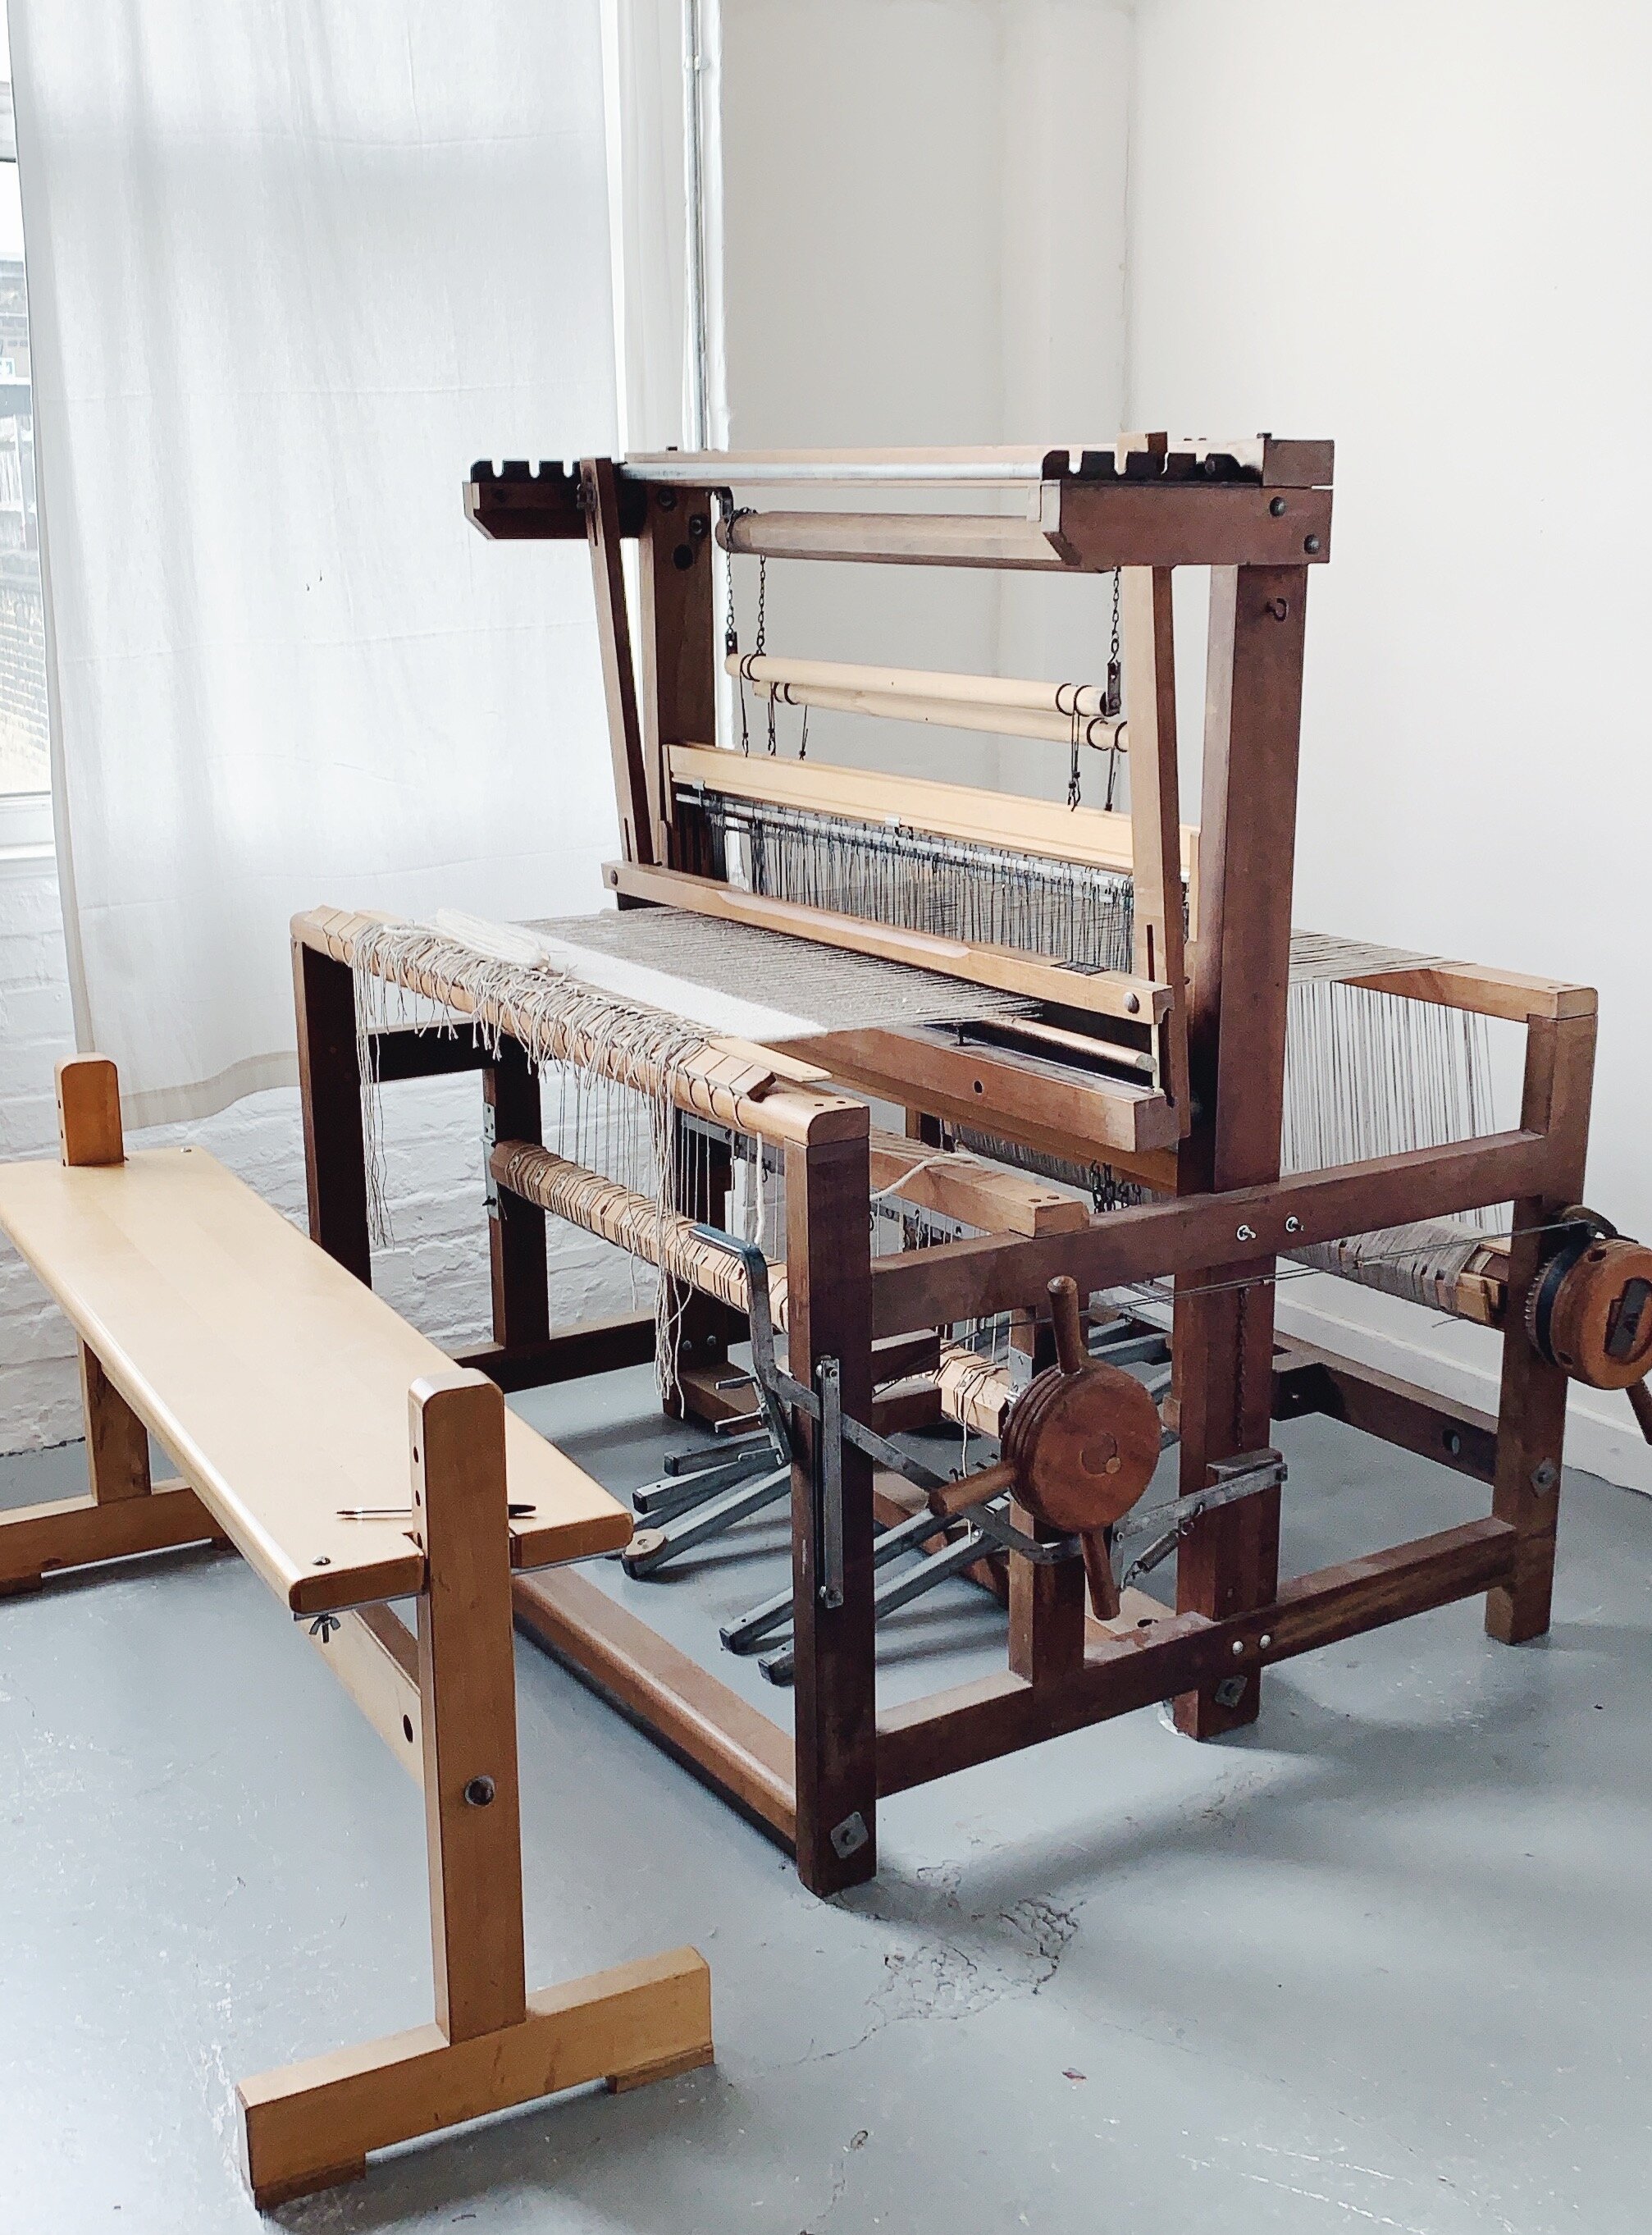
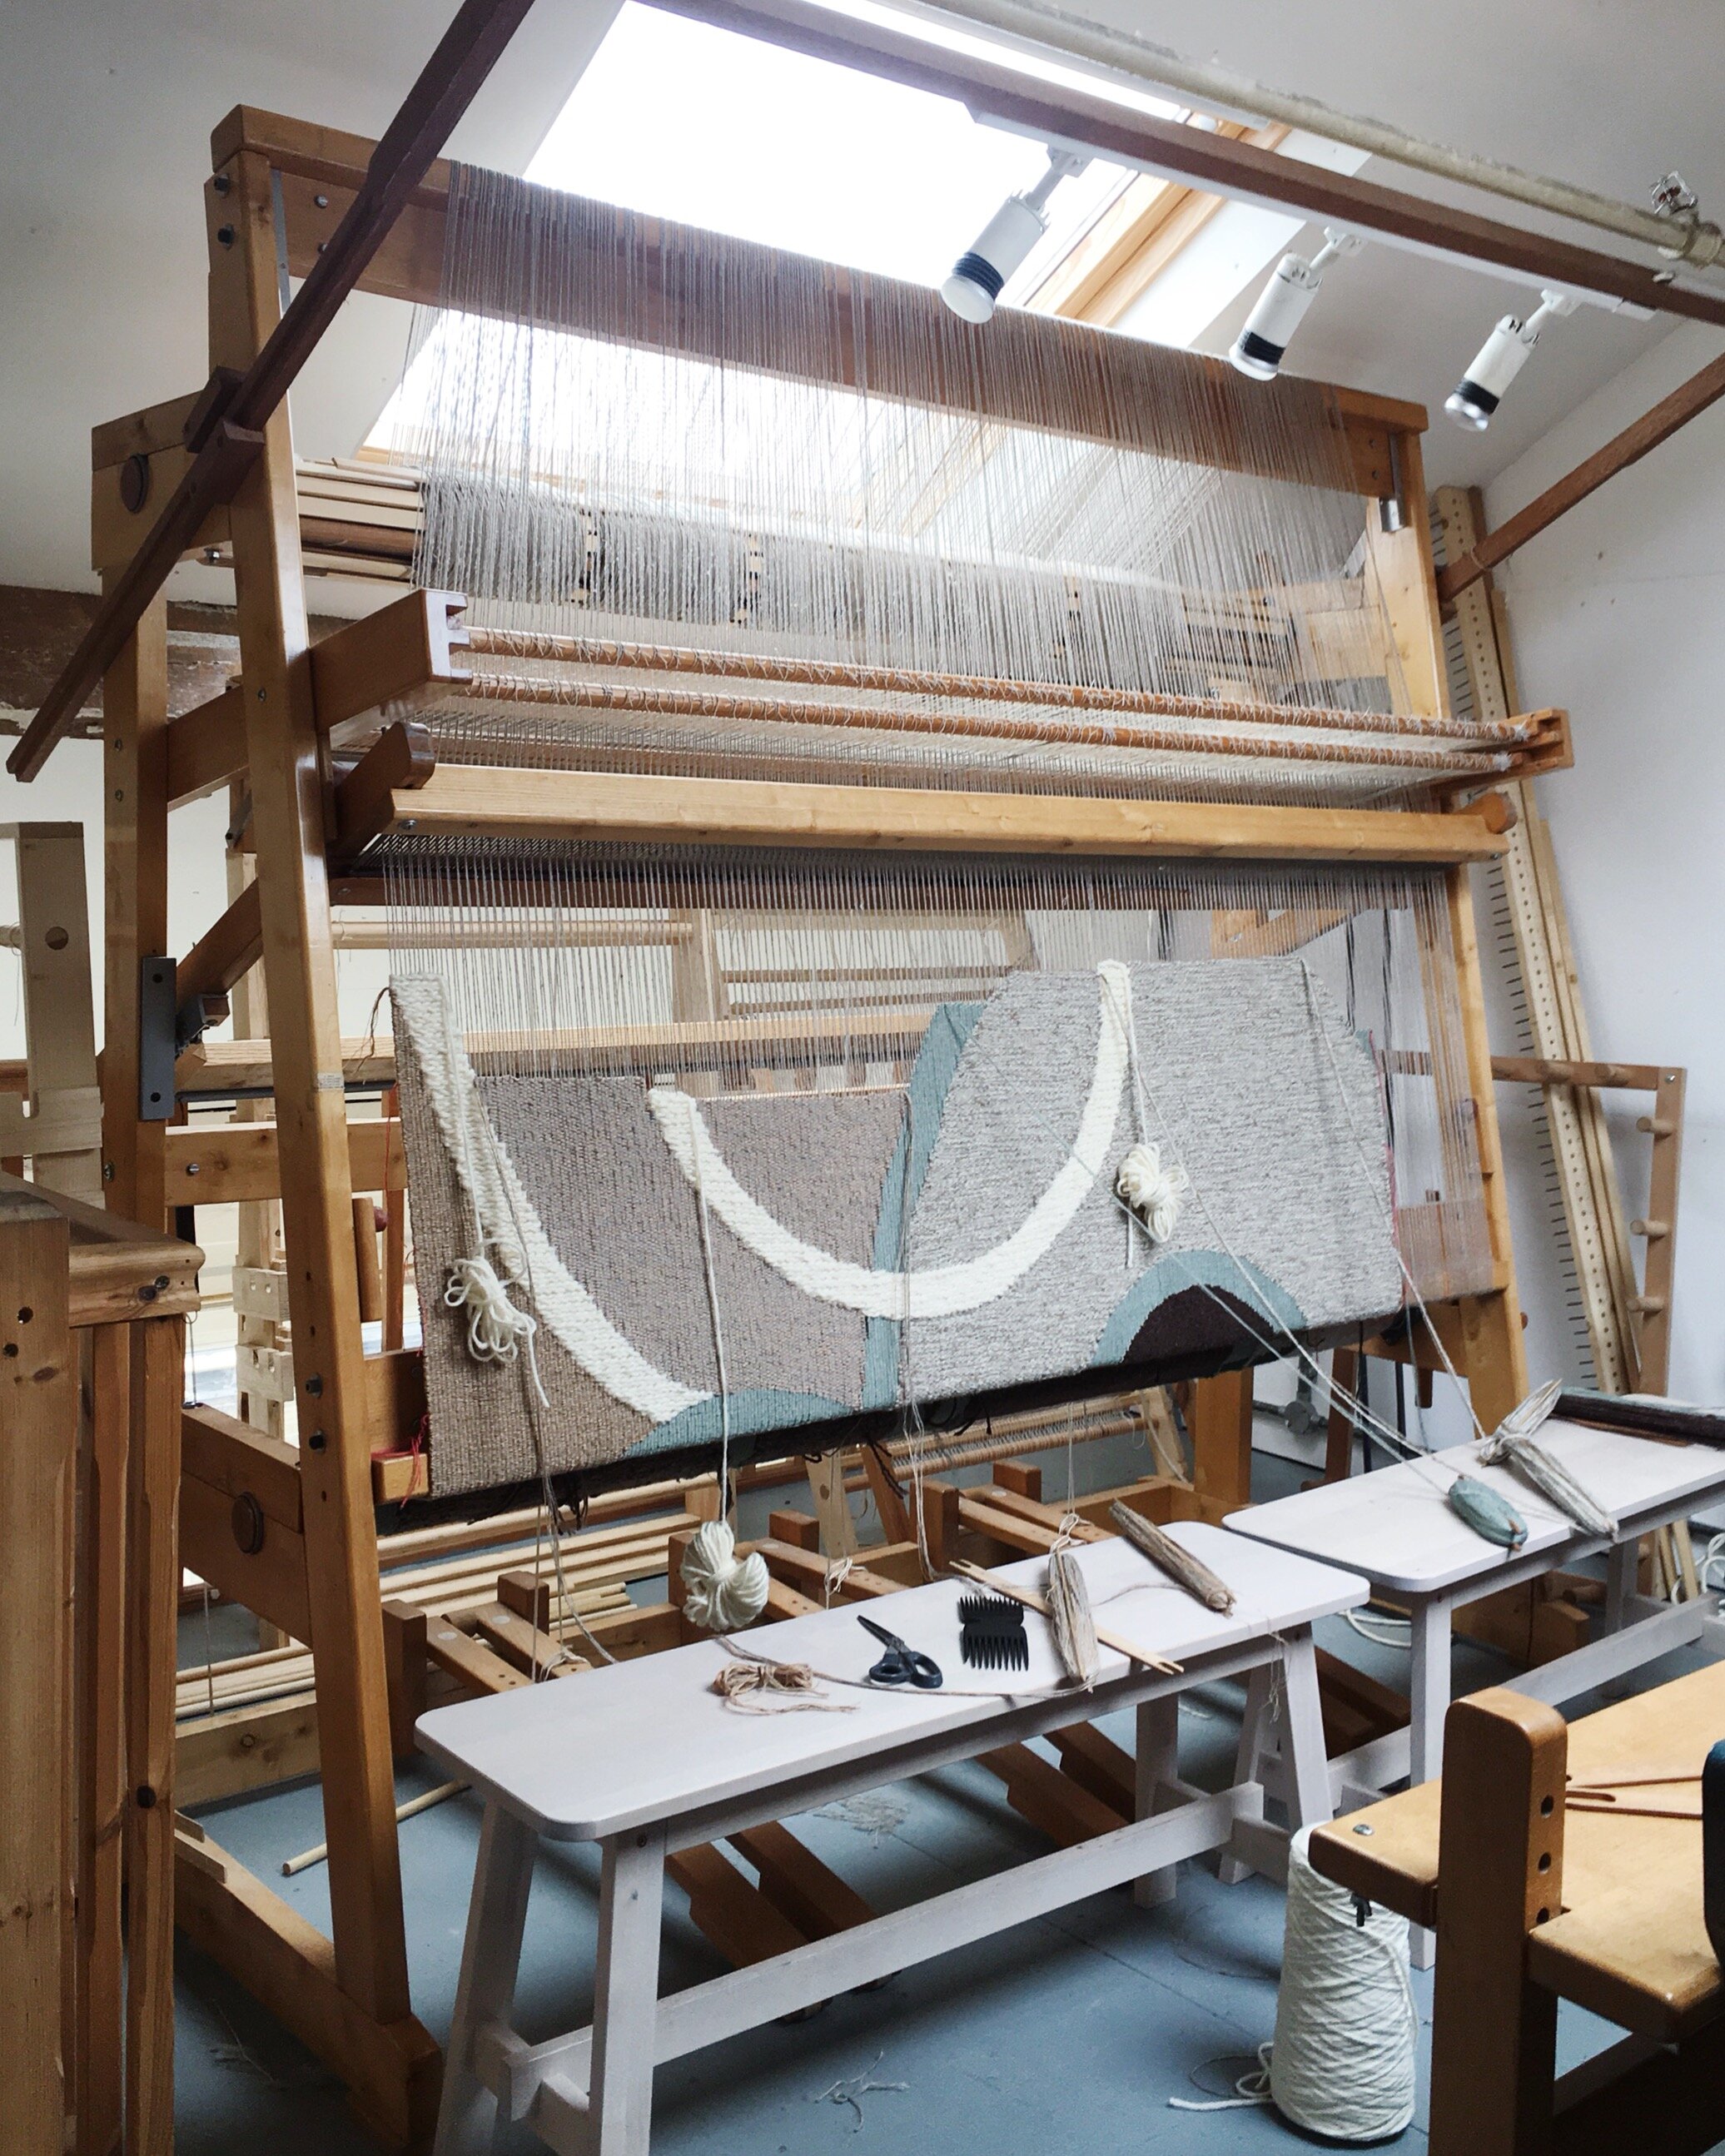
But the type of floor looms I really recommend are ones that are solidly constructed. The loom in the photo above is a 40-year old Harris floor loom. It’s really well-built and the ratchet and pawl mechanisms on the warp and cloth beams allow me to increase the tension of the warp and hold it firm.
This loom is no longer in production but you can get similar looms, either new or second hand. If you’re in the UK I recommend looking at Gumtree, eBay or The Loom Exchange for second-hand looms.
One downside of working on a floor loom is that they take a while to set up, and for beginner weavers they can be tricky to master. I would recommend starting out with a table loom first to make sure you get the hang of it.
They also take up a lot of space! So they may not be a feasible option for everyone.
Verdict: Ideal for serious weavers.
The Upright Floor Loom
Pros: Better visibility, more compact, firmer rug texture.
Cons: More physically demanding, can be slower
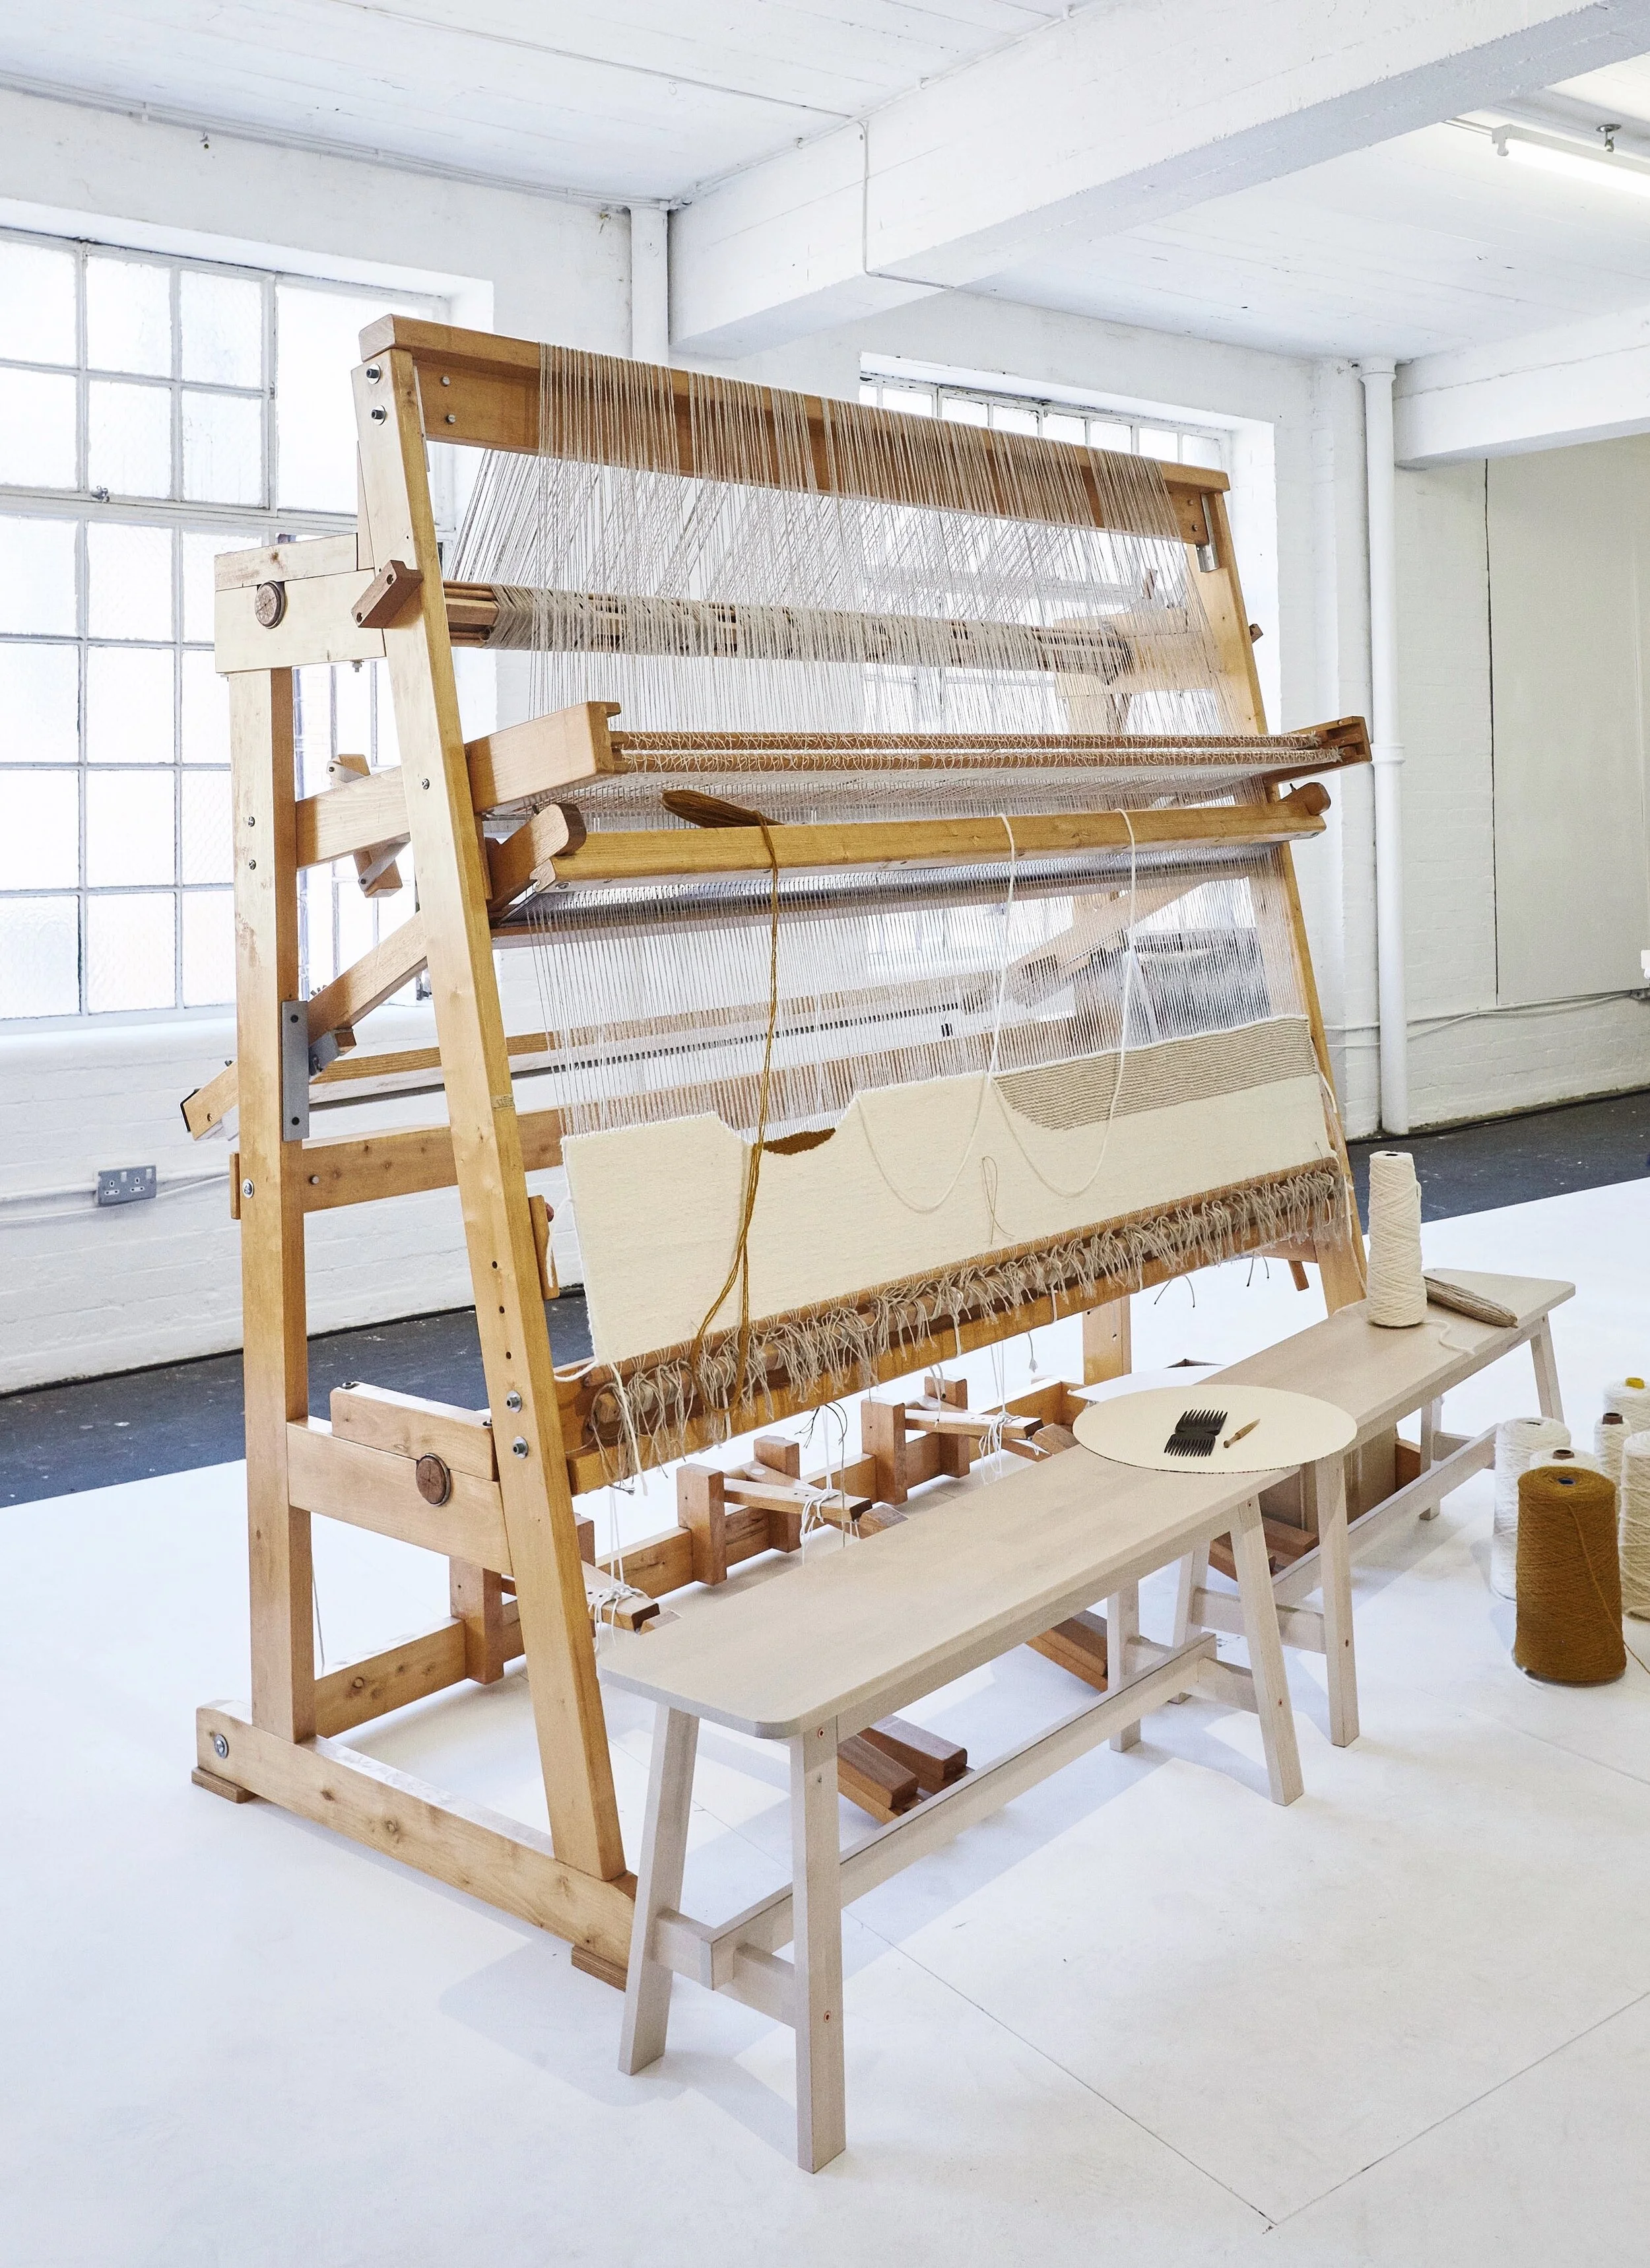
Finally, the last loom I want to cover in this post is the upright floor loom. In different parts of the world rugs are woven either on low warp looms (where the warp runs horizontally across the loom) or on high warp looms (where the warp runs vertically upwards.)
The advantage of the high warp loom is that while you can weave the same length of rug as you can on a low-warp loom, you can see more of your design as you weave. You can also get a much firmer rug texture, as you are beating down the weft in line with gravity, rather than across a horizontal warp.
These looms also take up less space in your home or studio and in my opinion are simpler to warp than a low warp loom. Although they are not widely produced these days, you can still find them for sale second hand.
The one downside to these looms is that you can throw the shuttle through the shed (the space in the warp) in the same way that you can on a low warp loom, which can slow you down. And I always find weaving on a high warp more taxing than weaving on a low warp, but this does vary from person to person.
Verdict: Ideal for more complex or detailed rugs.
So there you are- that’s my round-up of the looms I recommend for rug weaving! As you can see, there are so many different ways to weave a rug and lots of options for you to explore. The best advice I can give beginner rug weavers is to just jump in, get started and see where it takes you.
If you have any questions (or want to start beef with me over my slander of Rigid Heddle looms) let me know in the comments!
And if you’d like to find out more about my Rug Loom or my Rug Weaving Course, click on the links below.

